
I have given it a grandiose title, but since my child will graduate from elementary school next year, I feel that this will be the last time he will be able to do free research during his summer vacation.
Incidentally, I had been working on the theme of dams almost every year for my free research. However, since most of the contents were illustrations, it was not something that could be published, but this time, I put it all together in an article, thinking that it might be the first and last time since it was a very good work, even if I am not sure.
To learn more about this theme, please first check out the video uploaded on Twitter by a fellow dam enthusiast, Yosshi-.
Seeing this already, I had to think, "This is the one for my next summer vacation free study!" I had to think, "This is what I'm going to do for my next summer research project! Then, time passed and it was summer vacation. Finally, I made a craft.
Materials required
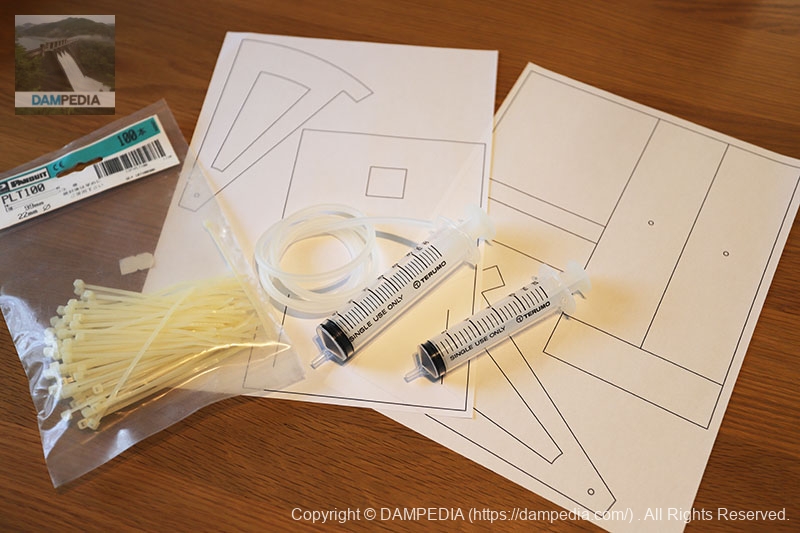
Since this is a free research project during the summer vacation, you don't need to prepare something so grandiose. If you have such items at home, use them. Also, if there are substitutions that can be made, be proactive and use them.
- Cardboard (not too thick, not too thin, but normal thickness cardboard is good)
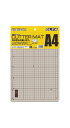
- Cardboard box as a foundation (A4 to A3 size cardboard board is acceptable)
- 2 syringes (20 ml should be enough)
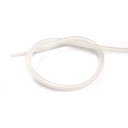
- Silicon tube (inner diameter about 3 mm)
- Binding band (Insulock)
- Round disposable chopsticks (or equivalent)


By the way, I bought the syringe and silicone tube at Tokyu Hands. Moreover, I mistakenly bought one 20ml and one 30ml, but it will probably be okay if they are aligned to 20ml.
Required Tools
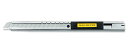
- cutter
- cutter mat
- Steel Ruler
- Something like a thousand pieces of paper.
- Printer (used for printing PDF data)
- Woodworking bond (preferably quick-drying type)
1. print PDF
We have created the development diagram in Illustrator and prepared the PDF data. Please download the PDF file below and print it with a printer.
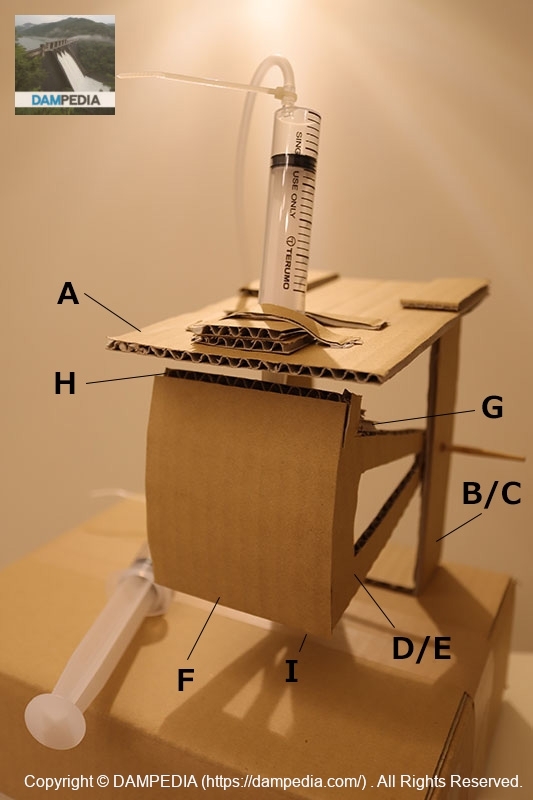
I have tried to match the photo to where each part is used. Does this give you an idea of the image?
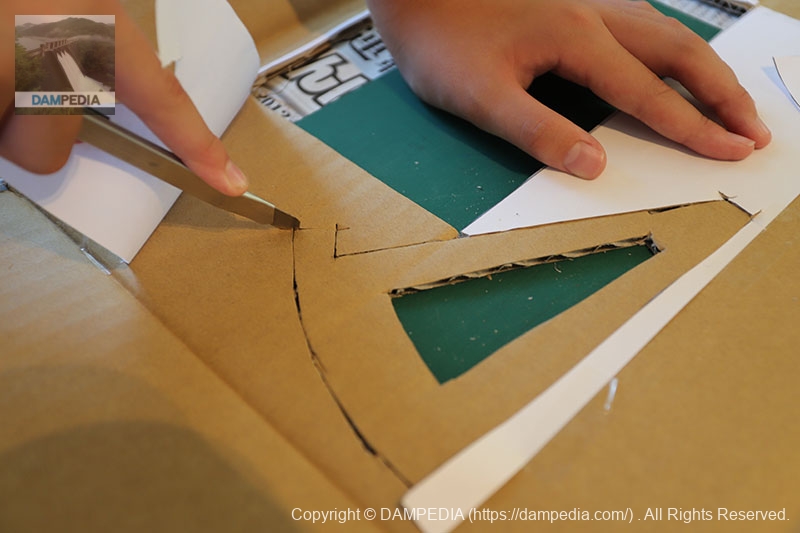
2. paste the printed paper onto cardboard and cut along the lines
Fix the paper printed in "1." to the cardboard with cellophane tape, etc., and cut along the lines.
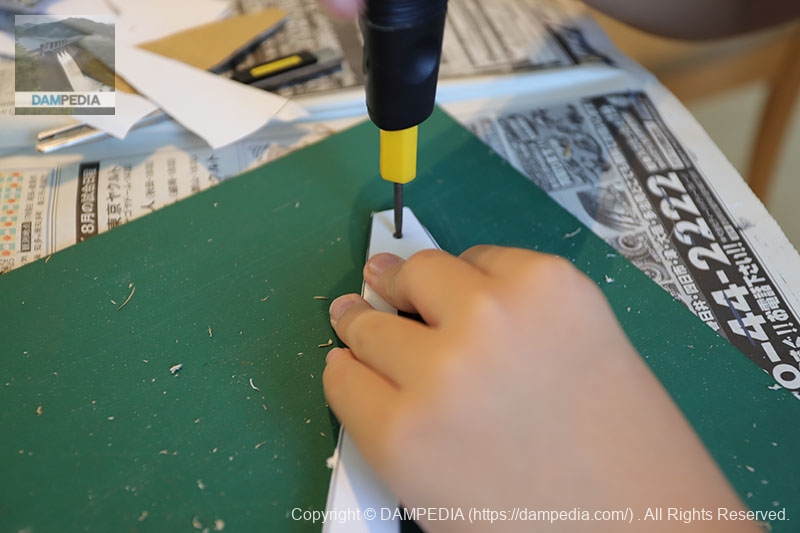
3. drill a hole in the center where the gate rotates
Since round disposable chopsticks are passed through the gate to rotate it, holes are drilled in parts B, C, D, and E to pass them through.
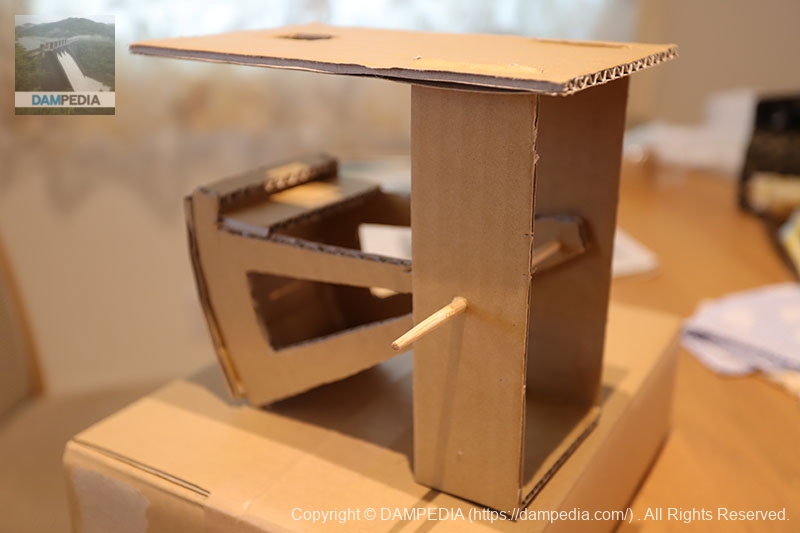
4. try to put it together with a bond
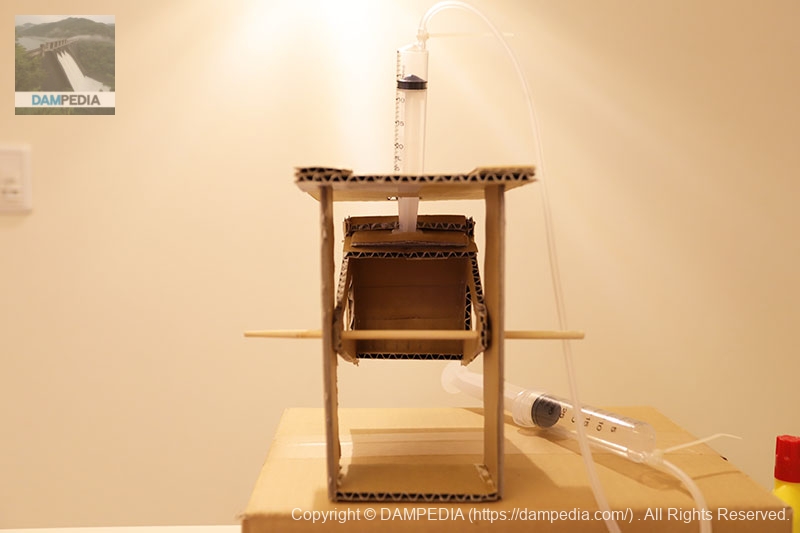
I accidentally forgot to take a picture of it and it's quite a bit more abbreviated, but it should be assembled so that it looks like the picture.

The flow of the assembly would generally be as follows.
- Pillars (B and C) on the foundation
- Mount A on top of columns
- Assemble gate sections (D, E, F, G, H, and I)
- Attach the gate part to the pillar by putting round disposable chopsticks through the holes in the pillar and gate part of B and C.
However, when you actually put it together, the size may not fit properly, so try cutting or re-cutting to a larger size to make adjustments.
The skin plate of F needs to be curved, so a horizontal and evenly spaced cutter knife can be used to make a cut on the back side and lightly folded to give the appearance of a curve.
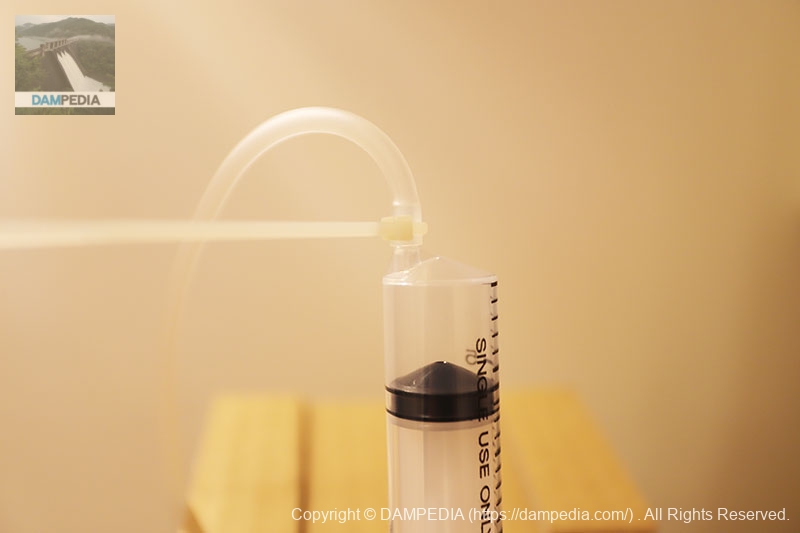
5.Assemble hydraulic cylinder with syringe
Connect the ends of both syringes with tubing and secure with a cable tie. The plunger (rod inside) of the syringe on the operating side should be removed at this time.
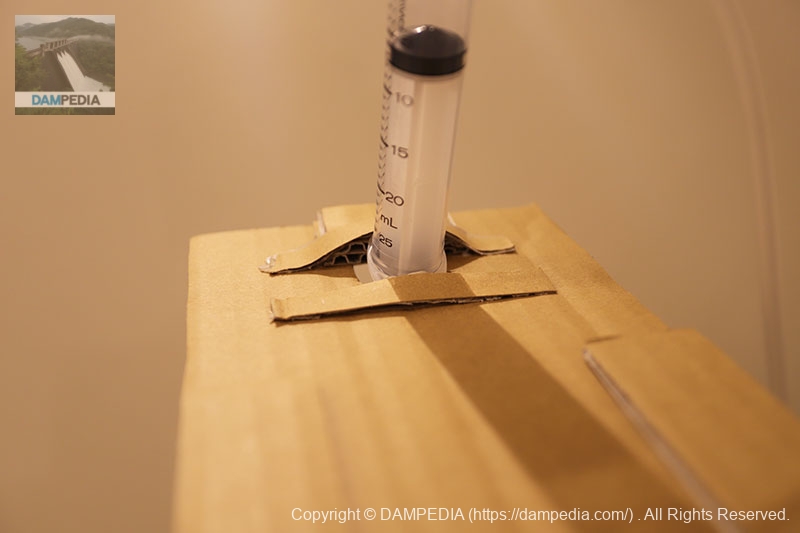
6. Attach the syringe on the gate side to the main body.
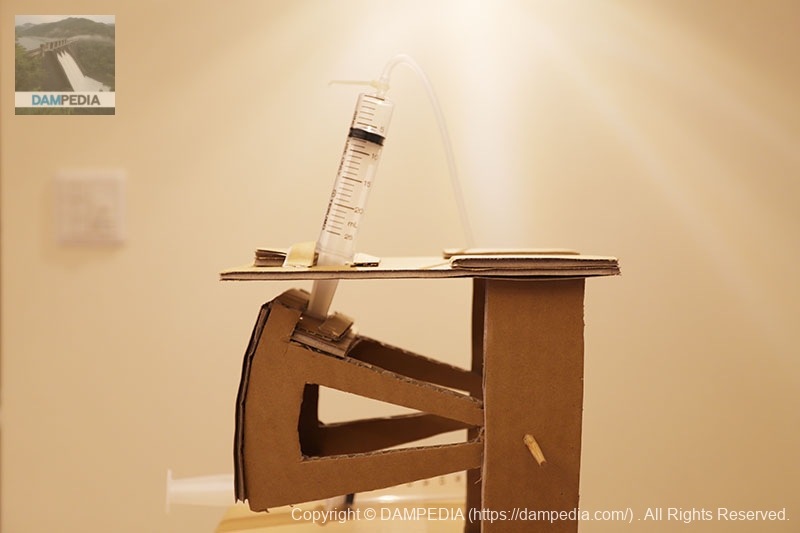
Fix the plunger of the syringe to the top of the gate and the barrel (outer cylinder) to "A". It looks like this from the side. The flange part of the barrel (the part that sticks out) and the handle of the plunger are sandwiched between a small piece of cardboard and the main body and fixed with bond.

I have not seen the actual dam on the Kosato River, so I am not sure how it is done here, but if it can be fixed, I think any method will work.
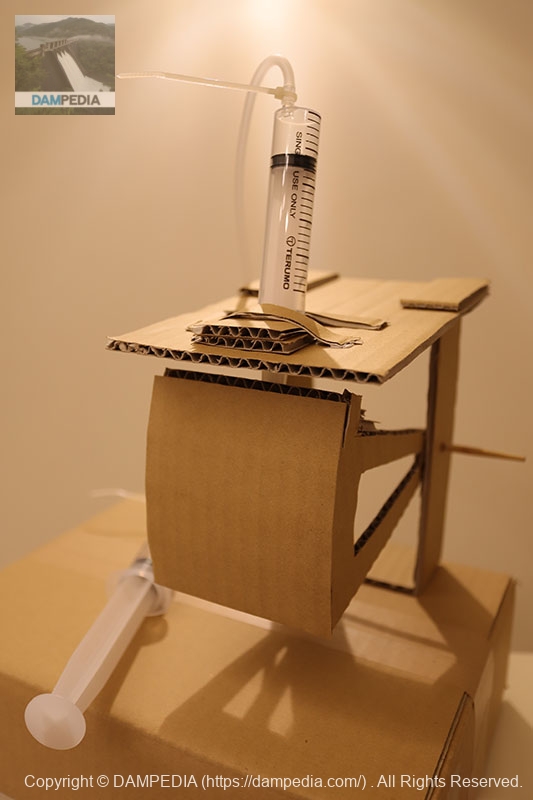
This is how the barrel and "A" are fixed. The syringe needs to be perpendicular to the angle of the gate, so it is fixed at an angle to "A" with a piece of cardboard between them.
7. Insert the plunger on the operating side into the barrel.
Insert the plunger of the control side into the barrel, but leave the gate of the main body side down at this time. It is difficult to balance the air volume between the control side and the body side, and this is a difficult task.
8. completed!
Now it's complete! After this, you can change the color of the gate to red or blue, but only dam enthusiasts will have fun with that, so it will be fine as it is for submission to the school.
If I may say so, it may be necessary to explain what this model is, so you may process and print the explanation described below. (There is no problem if you use the photos on this page, but their use is limited to submission to schools for free research during the summer vacation.)
This is a view from the back.
This is a side view.
Here is a video of it in action.
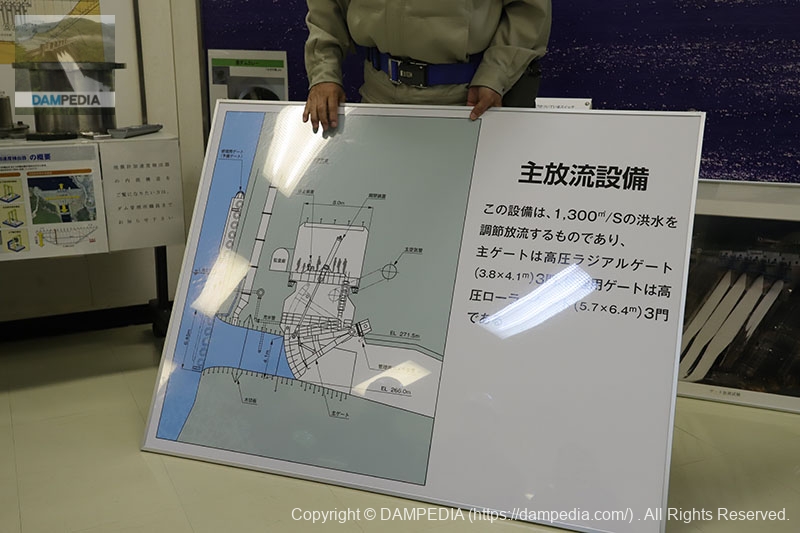
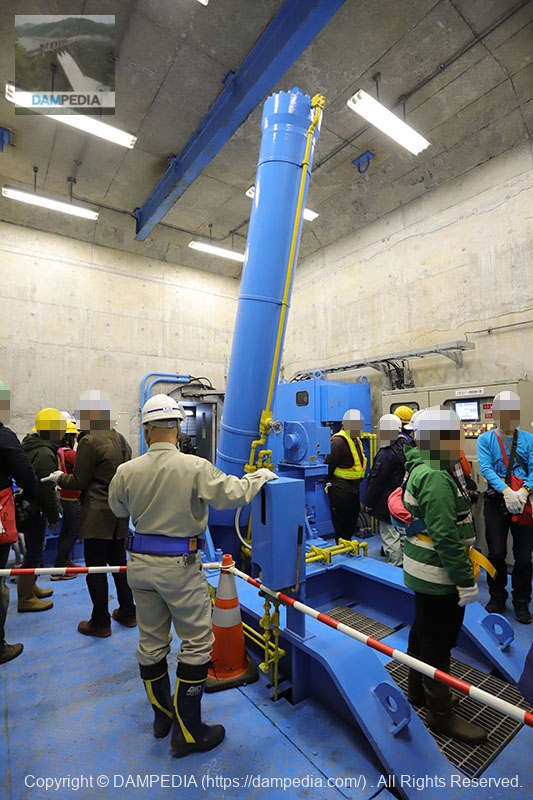
What is a "high-pressure radial gate" anyway?
The gates are mainly used for flood control gates, and in the lotus dam pictured below, the main discharge facility (ordinary flood dischargeThe product is used as a
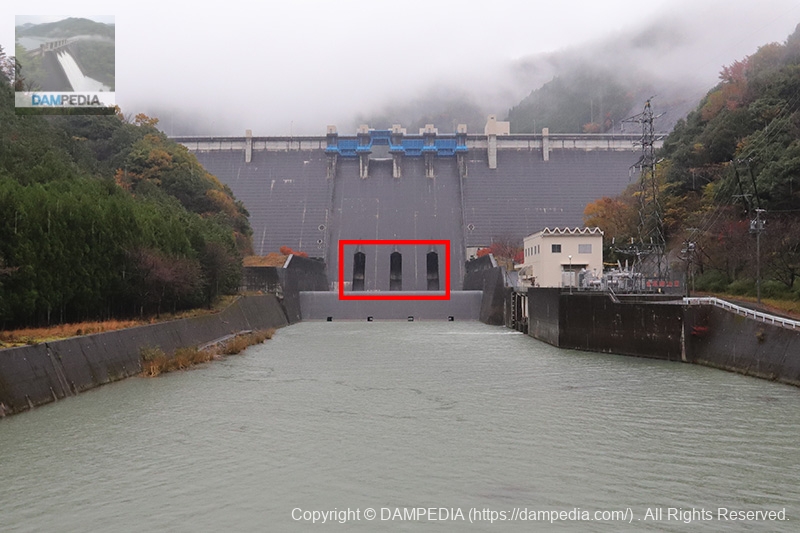
Most of the time, the gate itself is not visible at a quick glance because it is housed inside the dam.
This is the hydraulic cylinder part. In the model, it is the part above the syringe.
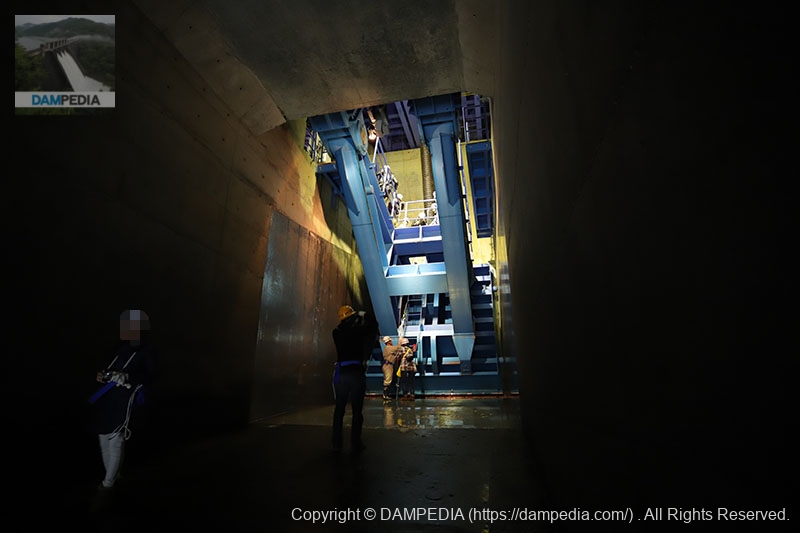
This is a high-pressure radial gate on the downstream side of the lotus dam. In the model, the image is seen from the back side.
With only a couple of weeks left of summer vacation (it may vary by region...), but it won't take more than a day if you have the materials and tools, so be sure to make a working high-pressure radial gate with your child this summer!

Comment